Photo taken this month.

Photo taken in June.
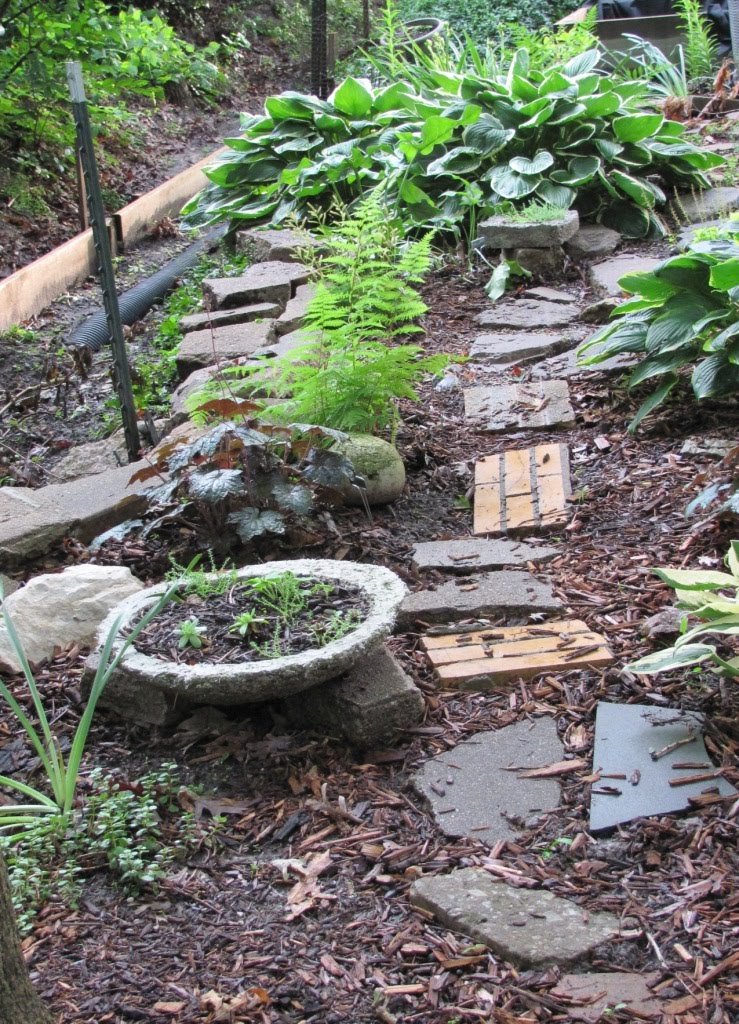
(woodland walk - click on photo below to see all three projects)
I'm needing to create just a few more projects!
Mostly for me.
But a couple for Christmas gifts.
Mostly for me.
But a couple for Christmas gifts.
This was created by inverting a large plastic squirrel baffel and laying the hypertufa mix over the top.
I just brought a 10x14" and a 6x8" box home from the grocery store. I'll use these as forms in creating a rectangular hypertufa container.
I have several children's plastic balls (8" diameter). I'll cut out a 3" hole in the top of each and fill them with the mix. I plan to cut a larger hole in one, fill it 3/4 full, add a small plastic pot and fill the ball (around the pot) with the mix. Later the pot will be pulled out, leaving a nice 3-4" deep hole in the center of the ball... for soil and a small plant.
Now, if you haven't yet heard of hypertufa, or if you had and you'd like a refresher - click the link below for some nice instructions.
There are many other sites out there. There are also recipe variations. You might find more ideas, yourself!
I just brought a 10x14" and a 6x8" box home from the grocery store. I'll use these as forms in creating a rectangular hypertufa container.
I have several children's plastic balls (8" diameter). I'll cut out a 3" hole in the top of each and fill them with the mix. I plan to cut a larger hole in one, fill it 3/4 full, add a small plastic pot and fill the ball (around the pot) with the mix. Later the pot will be pulled out, leaving a nice 3-4" deep hole in the center of the ball... for soil and a small plant.
Now, if you haven't yet heard of hypertufa, or if you had and you'd like a refresher - click the link below for some nice instructions.
There are many other sites out there. There are also recipe variations. You might find more ideas, yourself!


